Raspberry Pi Robot
So, a while back I gave my wife a Farscape DRD kit. I promised to make it in to a robot. How hard could it be? Well, not too bad. A little more expensive than planned, though…
The hardest part was finding a wheel and chassis setup that could hold the weight and fit underneath. Under the DRD shell, after some cleaning up, I’ve got about 27x20x12cm of space. After checking up on SparkFun every now and then I came across this kit, the DAGU Multi-Chassis in Tank configuration:
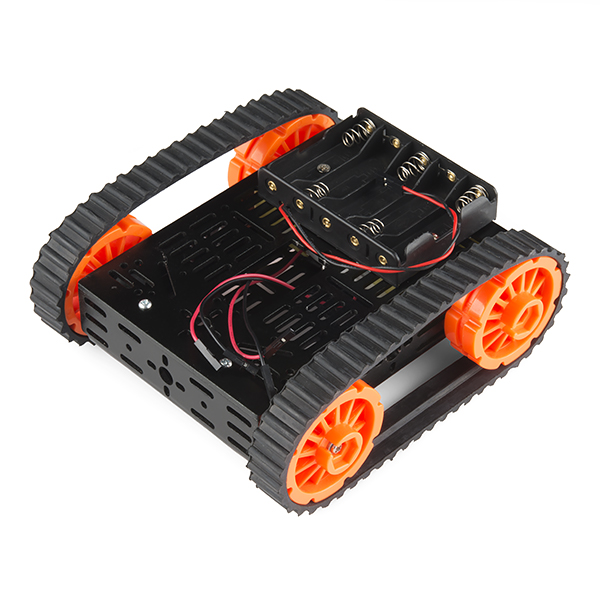
At 16x15x6cm, it appeared to be the largest kit that would fit entirely inside the DRD shell. It came with two gearboxed motors, but no encoders.
Another option was the Rover 5:
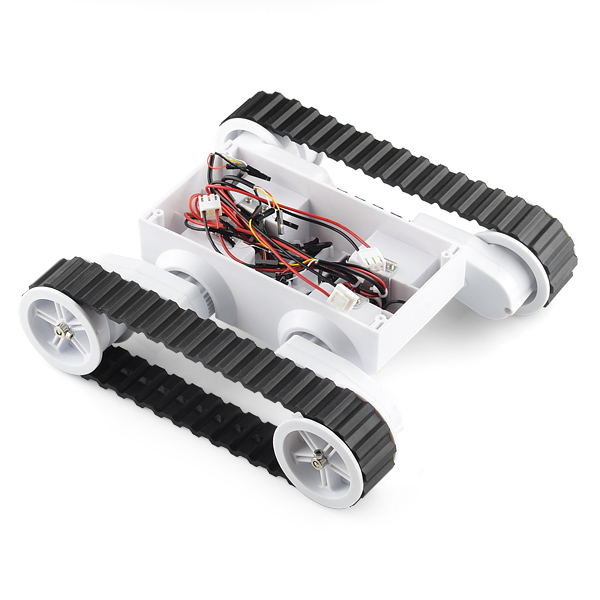
A nice chassis with motors At 25x23x8 it was tad too big, although you can adjust the wheelbase, you can’t adjust the track width, so the wheels would have to stick out a bit. It also has really nice encoders built it (unlike the If the current one
The one I really wanted to use was this $250 chassis, the T’Rex Tank:
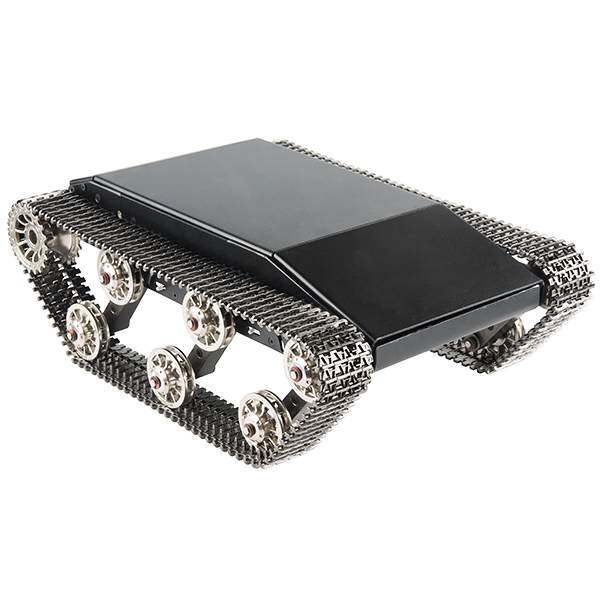
But it’s 36x18x13, so the shell would sit on top and it would be kind of obvious I wasn’t even trying to make the DRD look realistic.
Oh, well, DAGU Chassis it is. So, that chosen I needed the hardware to control it. I already had an unused Raspberry Pi from my Litecoin mining days, I just needed something to control the motors. So, altogether, this is what I have so far:
- DAGU Multi-Chassis - $50
- Raspberry Pi (Model B, Rev. 2), with 4GB SD Card - Free! (Not counting initial Litecoin mining expenditure.)
- TB6612FNG Dual 1A Motor Driver - $10
- Adafruit Half-size PermaProto Board and Ribbon Cable - $10
- Adafruit Powerboost 1000 - $15
- SparkFun Breadboard 5/3.3v Power Supply - $10
- SparkFun Hall Effect Motor Encoder Kit - $11 (Ordered two when I only needed one)
- USB Wireless Dongle - Free!
- Lots of AA Batteries - $10
- Additional 8 AA battery case with switch and 2.1mm plug - $10
- RPi Case - $8 (I opted for yellow since it was cheaper and matched the DRD shell)
- 10 Standoffs - $2
- 20 Screws - $4
- Wire - $16
- Jumpers - $25 (!)
Total cost: Over $200 including shipping, tax and whatnot. I had to get some items from Adafruit, and some from SparkFun, and then others were laying around. Add in the cost of the Litecoin ASIC mining hardware and … well why would you do that? What’s done is done.
The TB6612FNG board supports 2A peak, 1A continuous current for each motor circuit which is plenty to drive the DAGU motors. I have one power supply for the Pi itself using the 5 AA battery case that came with the chassis, and an 8 AA battery case from ADAFruit, for 15V to drive the motors and the 3.3/5V power supply for the motor controller.
So, now you have a bunch of parts.
The next post will be about assembly and testing the hardware.